Sweet Beginnings
2014
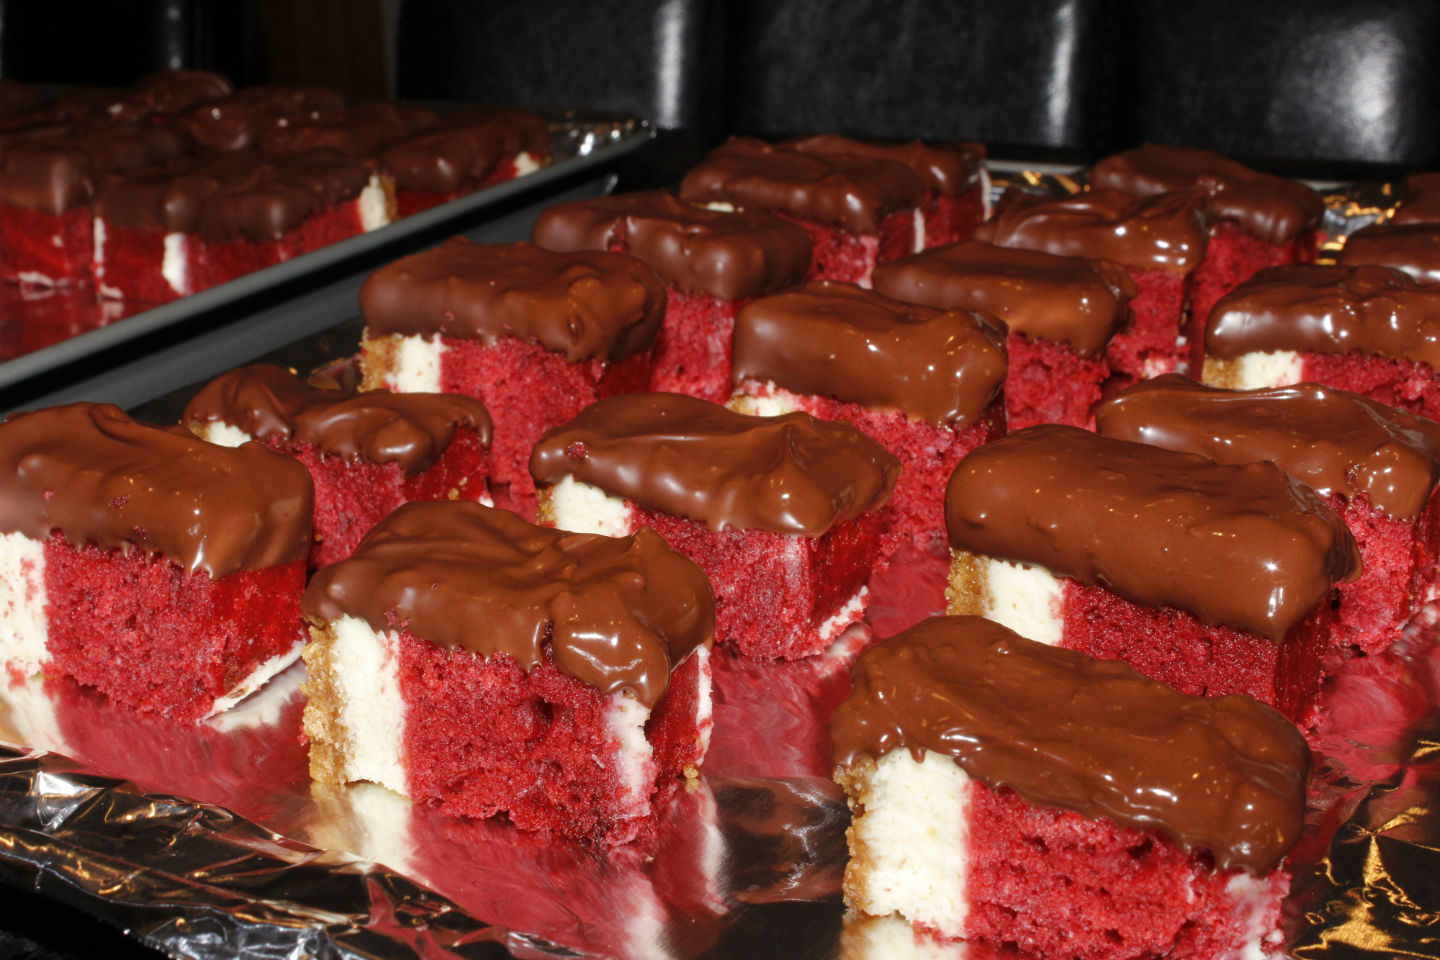
I never imagined starting my blog with a dessert – here I am preaching about healthy food but its Valentine’s day and I love a sweet indulgence just as much as the next person. My sincere hope is that you will stick around to learn more about the food I so adore and the philosophy with which I prepare it. But tonight, just (barely) in time for this holiday full of treats, I bring you this playful, and slightly more sinful, personal creation (appropriate color scheme and all): Chocolate Dipped Red Velvet and Cheesecake Bites, or as my husband has named them, “Chocolate Covered Lasers”.
I made these for his company holiday pot-luck and they were a huge hit among the all-engineer group. To be fair, I originally envisioned these to be completely enrobed in chocolate but realized quickly that this would be far too rich and takeaway from the lightness of the ch eesecake. Why lasers you ask? Because apparently the red velvet looks like the ruby tube and beam, and the cheesecake looks like one of the mirrored surfaces of a ruby laser (don’t ask me what that means, I am just quoting my husband for the sake of all you engineering folk out there).
I searched far and low for a red velvet cheesecake bite recipes and to my surprise, given the vastness of today’s culinary internet community, no such thing existed. Think about it, we put cream cheese frosting on red velvet cake – how is cheesecake and red velvet not a match made in heaven?
I ended up combining a red velvet recipe I found online that uses yogurt (because I love yogurt and use it in everything), with a reduced but basic cheesecake recipe. You are welcome to use any red velvet recipe you like.
Disclaimer – this recipe may seem lengthy and overwhelming – don’t be afraid, its fairly simple it just has a lot of steps and requires an overnight refrigeration. Not all of my recipes will take this long – I promise!
Read more about me and this blog here
STEP 1: Bake a Cheesecake
Ingredients:
2 8-oz packages of cream cheese (use the full fat kind)
2 eggs
½ cup of sugar
½ tsp vanilla
1.5 cups graham cracker crumbs
2 tbsp sugar
3 tbsp melted butter
Non-stick spring form pan (trust me you need one)
Heat Oven to 325 F
In a food processor, pulse graham crackers into fine crumbs. Mix in a bowl with sugar and melted butter. Carefully and evenly press the graham cracker mixture into the bottom of the spring form pan, pushing them up the side of the pan a bit to form a crust – compress as much as possible.
In a stand mixer or with an electric hand mixer, combine cream cheese with sugar and vanilla, mix at medium speed for a minute or two. Add in eggs, one at a time. Mix at low speed until well combined and smooth (do not overmix).
Pour cream cheese mixture into prepared crust. Bake for ~30 min or until just barely set in the middle, you don’t want it to really brown. Once baked, take out of the oven, cool for 10-15 min then gently pop off the outer ring of the spring form pan, continue cooling cake.
Adapted from the basic Philadelphia Cheesecake Recipe
STEP 2: Bake a Red Velvet Cake
Ingredients:
3/4 cups sugar
1 eggs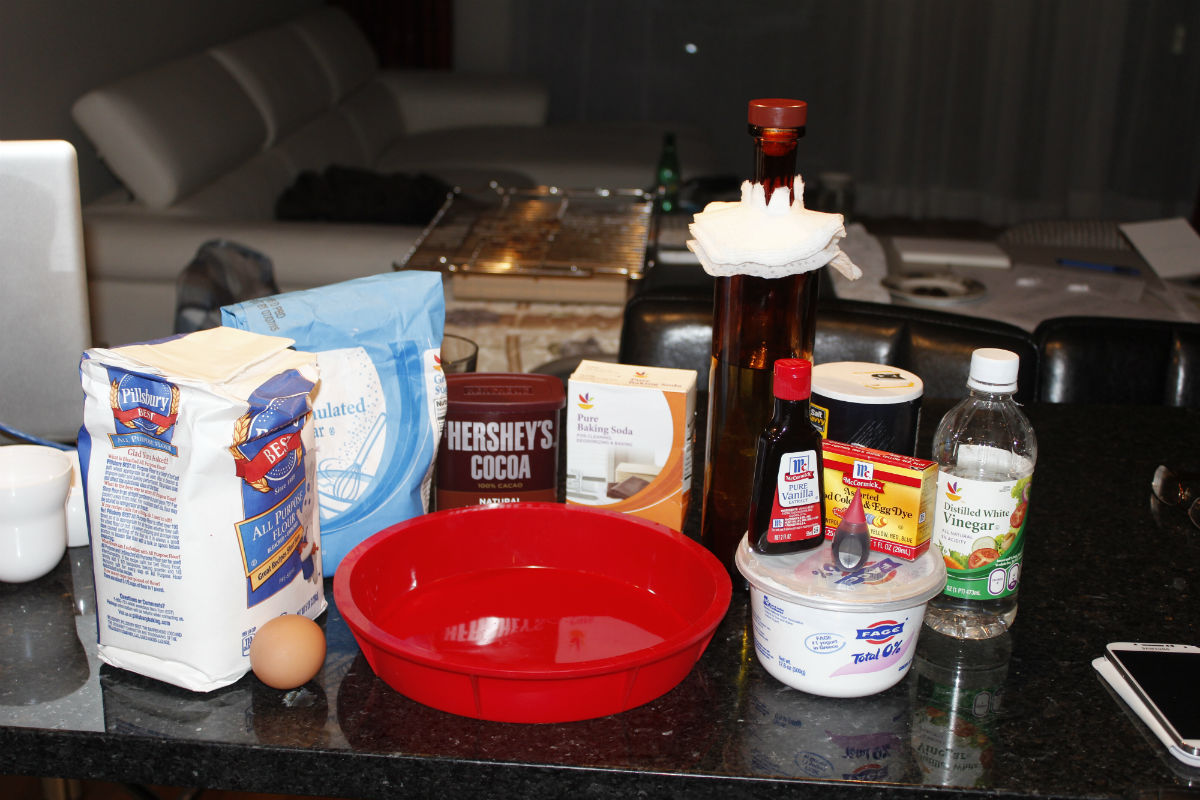
3/4 cups canola oil
1/2 cup plain yogurt
1 tablespoons red food coloring
½ teaspoon vinegar
½ teaspoon vanilla extract
1 1/4 cups flour
1 tablespoon cocoa
½ teaspoon baking soda
½ teaspoon salt
Non-stick round pan with the same approximate diameter of your spring form (Don’t use a spring form for this as the cake will leak out)
Preheat the oven to 350 degrees F.
In a stand mixer (or with electric hand mixer), mix the sugar with the eggs, oil, yogurt, food coloring, vinegar, and vanilla. Add flour, cocoa, baking soda, and salt. Blend until just incorporated but a smooth and consistent batter. (I sifted my dry ingredients as this reduced the chance of clumps)
Pour into a greased and floured non-stick pan, bake for 25 min or until toothpick comes out cleanly. Remove from oven and cool for 30 min to 1 hour in pan.
Adapted from: http://www.cookingchanneltv.com/recipes/chuck-hughes/red-velvet-cupcakes.html
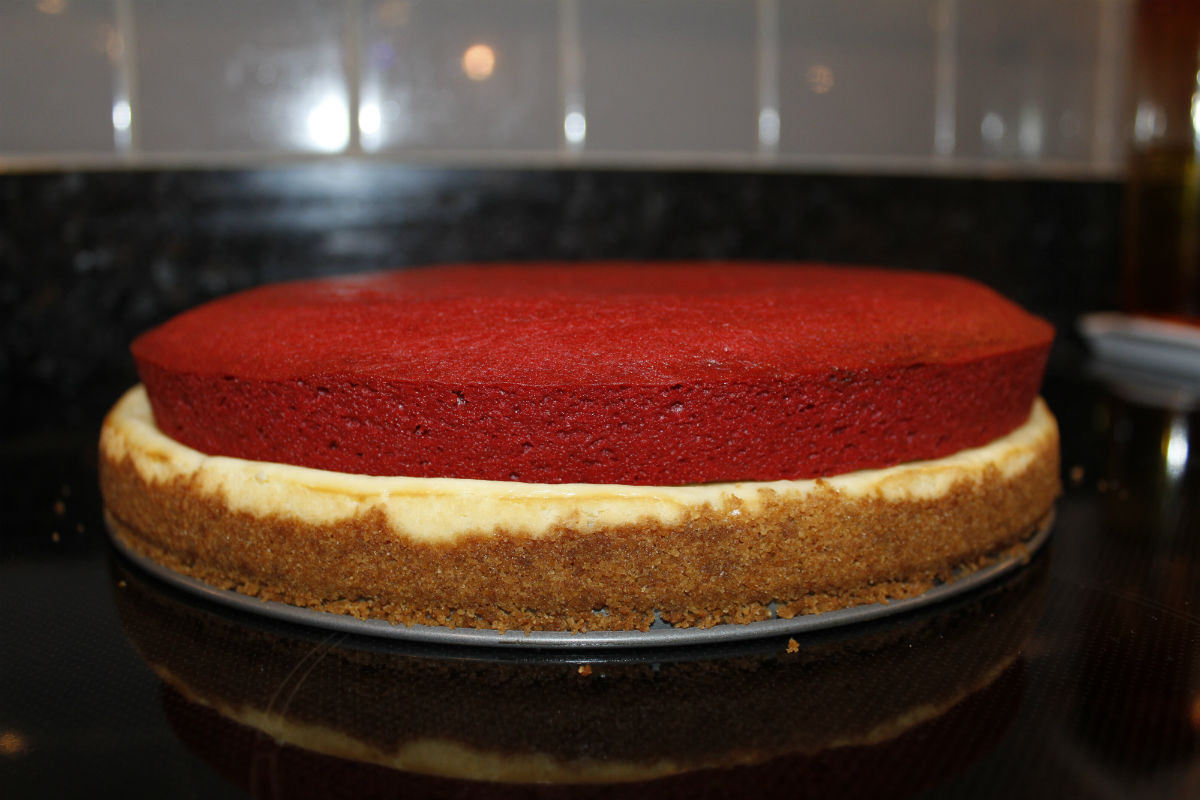
STEP 3: Combine the cakes
This part was one of the hardest and my husband helped me. Basically, you have to align your red velvet pan with the edge of your cheesecake and carefully flip the red velvet directly on to the top of the cheesecake to unmold it and then take the pan off until you are left with a dual layer creation – cheesecake bottom, red velvet top. If your cakes are room temperature, cover in plastic wrap and freeze overnight.
STEP 4: Cutting and Dipping
Ingredients:
16-20 oz (1-1.5 bags if you are using chips) semi-sweet chocolate
1 tbsp coconut oil or butter
Double boiler (pot with small volume of water that has been brought to a boil, with a bowl sitting snugly on top of the pot and not touching the water directly)
Large knife – santoku or sharp serrated bread knife
Take the frozen cake out of the freezer, cut off 4 edges to turn the circular cake into a square (edges can be enjoyed as a treat as 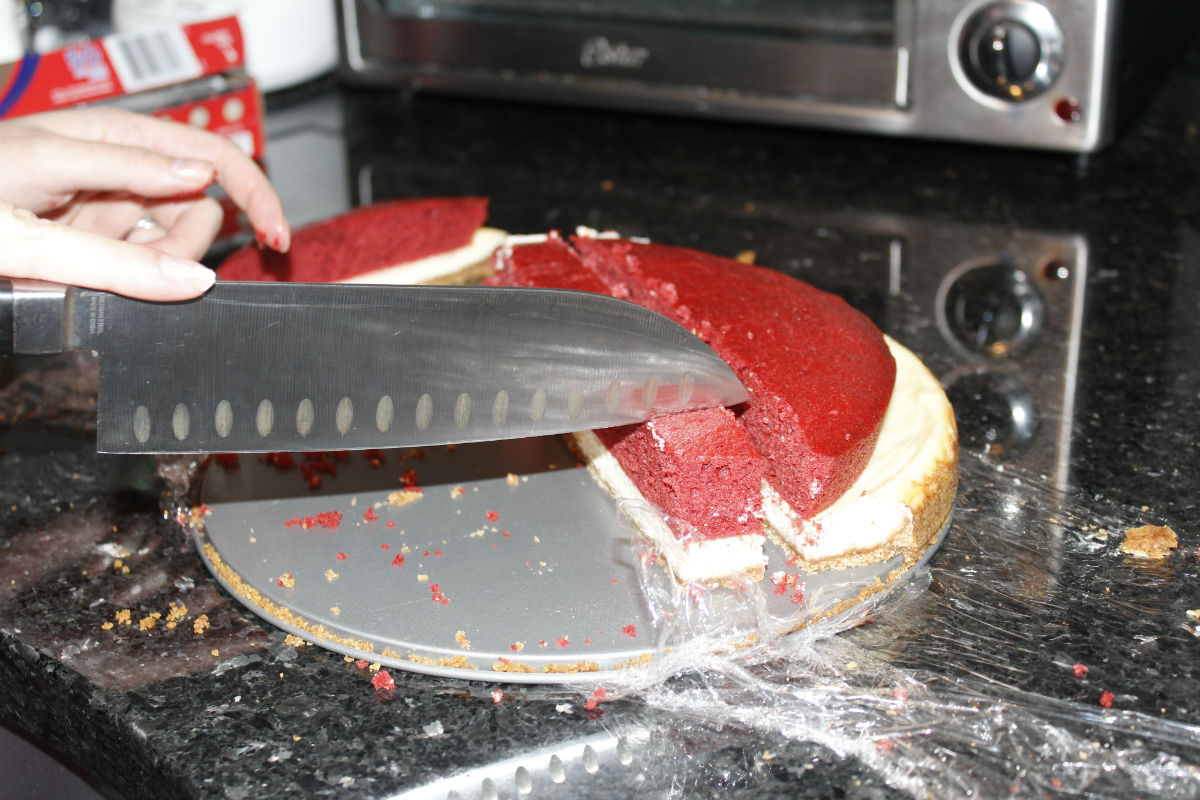 you go, or dipped as well and kept for personal consumption, not display). Once you have a large square, cut ~1 in strips, and then cut each strip into cubes (basically, divide your cake into a grid of 1 in squares). The warmer the cake and knife, the harder it is to cut. As you cut the squares put on a parchment paper or foil lined baking pan and put in fridge until ready to dip.
Melt almost all chocolate in double boiler, stirring continuously, add in tablespoon of oil or butter and mix to combine, add in remaining handful of chocolate and stir until completely melted. Keep the burner on low to avoid burning the chocolate but to keep it melted. Keep water away from it or it will seize (if interested, search for “tempering chocolate” on the internet for proper technique – I skipped this).
 Work in batches since most squares should stay in fridge. Dip cake pieces sideways halfway deep into chocolate, remove and let excess drip off. Place on prepared tray or baking sheet covered in foil or parchment paper on the non-chocolate covered base. Repeat until all your rectangles are covered. Let chocolate harden at room temperature. Serve within 24 hours – store in fridge if not serving immediately.
I know, a lot of steps, but the wow factor is definitely there and these are the perfect dessert bite – when you don’t want a whole piece of cake.